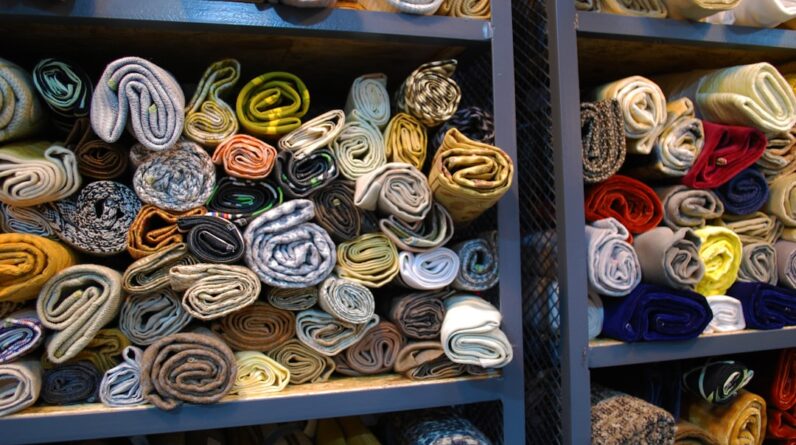
When embarking on the journey of creating your own custom throw pillows, the first step is selecting the right fabric. The fabric you choose will not only determine the aesthetic appeal of your pillows but also their durability and comfort. You might want to consider the purpose of the pillows.
Are they meant for decorative purposes on a sofa, or will they serve a functional role on a bed? For decorative pillows, you may lean towards fabrics like silk, velvet, or brocade, which offer a luxurious look and feel. On the other hand, if your pillows will be used frequently, opting for more durable materials such as cotton or canvas could be wise.
Additionally, think about the color and pattern of the fabric. This is your opportunity to express your personal style and complement your existing decor. You might find yourself drawn to bold prints that make a statement or soft, muted tones that create a calming atmosphere.
Remember that the fabric’s texture can also play a significant role in how the pillow feels and looks. A textured fabric can add depth and interest, while a smooth fabric can provide a sleek and modern appearance. Ultimately, the right fabric will resonate with your vision and enhance the overall ambiance of your space.
Key Takeaways
- Choose a durable and easy-to-clean fabric for your custom throw pillows
- Consider the design and style of your room when designing your pillow
- Accurately measure and cut the fabric to ensure a professional finish
- Use basic sewing techniques such as straight stitch and backstitch for a clean look
- Add embellishments like piping, tassels, or embroidery to personalize your pillows
Designing Your Pillow
Once you’ve settled on the fabric, it’s time to dive into the design phase of your pillow-making project. This is where your creativity can truly shine. You might want to sketch out your ideas or use design software to visualize how different elements will come together.
Consider the shape of your pillow; while square and rectangular shapes are classic choices, you could also explore circular or even irregular shapes for a more unique touch. The shape can significantly influence how the pillow interacts with its surroundings. Next, think about the size of your pillow.
A larger pillow can serve as a statement piece, while smaller ones can be used in clusters for a layered look. You may also want to consider incorporating different sizes and shapes to create visual interest on your couch or bed. Additionally, think about any patterns or motifs you want to include in your design.
Whether you choose to go with a simple solid color or a complex pattern, ensure that it aligns with your overall decor theme. This is your chance to create something that not only looks good but also feels personal and meaningful.
Measuring and Cutting the Fabric

With your design in mind, it’s time to measure and cut your fabric accurately. Precision is key in this step, as any miscalculation can lead to uneven edges or an ill-fitting pillow. Start by determining the dimensions of your pillow based on your design choices.
If you’re making a standard square pillow, you might want to add an extra inch or two for seam allowances. Using a measuring tape, carefully measure out the fabric, marking it with tailor’s chalk or a fabric marker for clarity. Once you’ve marked your measurements, it’s time to cut the fabric.
Use sharp fabric scissors for clean edges, ensuring that you follow your markings closely. If you’re working with multiple pieces for a more complex design, take care to label each piece so you can easily identify them later. After cutting, it’s a good idea to lay out all your pieces together to ensure everything fits as planned before moving on to the sewing stage.
This step is crucial in ensuring that your final product looks polished and professional.
Sewing Techniques
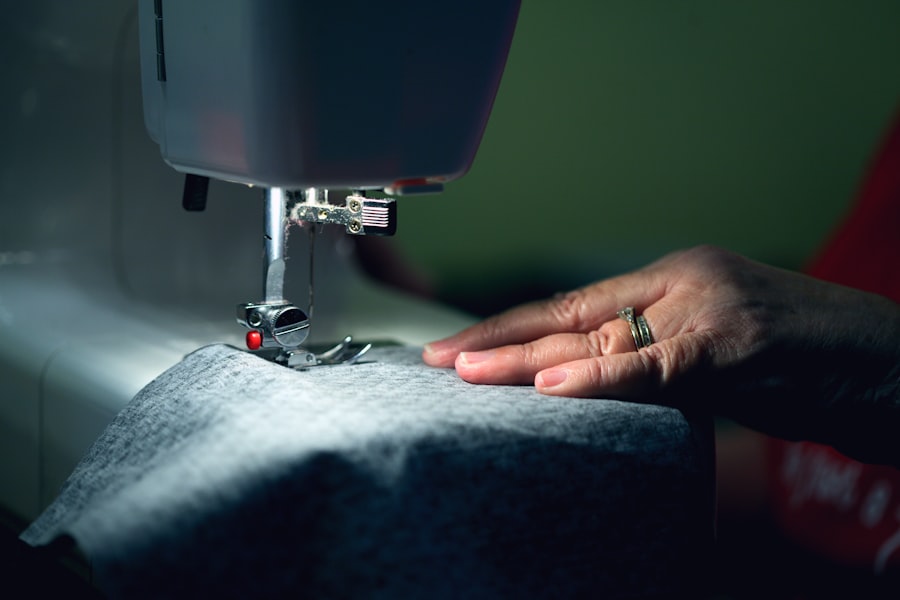
Now that you have all your pieces cut out, it’s time to bring them together through sewing. Depending on your skill level and the complexity of your design, you might choose to hand-sew or use a sewing machine. If you’re new to sewing, starting with a sewing machine can save you time and provide more consistent results.
Make sure to familiarize yourself with the machine’s settings and practice on scrap fabric if necessary. When sewing your pillow pieces together, remember to use straight stitches for clean seams. You may also want to consider using a zigzag stitch along the edges to prevent fraying, especially if you’re working with fabrics that tend to unravel easily.
As you sew, keep an eye on your seam allowances; maintaining consistent allowances will ensure that your pillow retains its shape once stuffed. If you’re feeling adventurous, you could even explore techniques like quilting or adding piping for an extra touch of sophistication.
Adding Embellishments
To elevate your custom throw pillows further, consider adding embellishments that reflect your personal style. This could be anything from decorative buttons and tassels to embroidery or appliqué designs. Adding these elements can transform a simple pillow into a unique piece of art that stands out in any room.
If you’re inclined towards embroidery, you might want to stitch initials or meaningful symbols onto the fabric before assembling the pillow. Tassels can add a playful touch and are relatively easy to make or purchase from craft stores. You could also explore using contrasting fabrics for piping around the edges of your pillow for added visual interest.
When adding embellishments, ensure they complement rather than overwhelm your design; balance is key in creating an aesthetically pleasing piece. This is where you can truly let your creativity flow and make each pillow uniquely yours.
Stuffing and Closing the Pillow
After completing the sewing and embellishment stages, it’s time to stuff and close your pillow. Choosing the right filling is essential for achieving the desired comfort level; options include polyester fiberfill, down feathers, or even eco-friendly alternatives like buckwheat hulls or recycled materials. Each filling type offers different levels of firmness and support, so consider what feels best for you.
Once you’ve selected your stuffing material, carefully fill the pillow through the opening you left unsewn. Take care not to overstuff; you want the pillow to maintain its shape without being too rigid. After achieving the desired fullness, it’s time to close up the opening.
You can either sew it shut by hand using a slip stitch for an invisible finish or use a sewing machine for a more secure closure. Ensure that all edges are neatly tucked in before securing them; this attention to detail will enhance the overall look of your finished product.
Care and Maintenance
Now that you’ve created beautiful custom throw pillows, it’s important to consider their care and maintenance to ensure they remain in pristine condition over time. The first step is understanding the specific care instructions for the fabric you’ve chosen; some materials may require dry cleaning while others can be machine washed on gentle cycles. Always check labels and follow recommended guidelines to avoid damaging your pillows.
Regular maintenance is also crucial; consider fluffing your pillows regularly to maintain their shape and prevent flattening over time. If spills occur, address them promptly by blotting rather than rubbing to avoid spreading stains. For removable covers, washing them periodically will help keep them looking fresh and vibrant.
By taking these steps, you can enjoy your custom throw pillows for years to come while keeping them looking their best.
Displaying Your Custom Throw Pillows
Finally, once you’ve completed your custom throw pillows, it’s time to showcase them in your home! The way you display them can significantly impact their overall effect in a room. Consider arranging them in clusters on sofas or beds for a cozy look; mixing different sizes and shapes can create visual interest and depth in your decor.
You might also want to experiment with different placements—try layering them against larger cushions or using them as accents on chairs or benches. Don’t hesitate to change up their arrangement from time to time; this can breathe new life into your space without requiring any major changes. Ultimately, displaying your custom throw pillows should reflect your personal style while enhancing the overall aesthetic of your home environment.
Enjoy the satisfaction of seeing your creative efforts come to life in such a tangible way!
FAQs
What are custom throw pillows?
Custom throw pillows are decorative pillows that are personalized to fit a specific design or style. They can be customized with different fabrics, colors, patterns, and even personalized with names or quotes.
How can I make my own custom throw pillows?
To make your own custom throw pillows, you will need to gather materials such as fabric, pillow inserts, sewing machine, and other decorative elements. You can then follow a DIY tutorial or pattern to create your desired custom throw pillows.
What are the benefits of making custom throw pillows?
Making custom throw pillows allows you to personalize your home decor to fit your style and preferences. It also gives you the opportunity to create unique and one-of-a-kind pieces that can’t be found in stores.
Where can I find inspiration for custom throw pillows?
You can find inspiration for custom throw pillows from home decor magazines, websites, social media platforms like Pinterest and Instagram, as well as by visiting home decor stores and seeing the latest trends and designs.
What are some popular DIY techniques for custom throw pillows?
Some popular DIY techniques for custom throw pillows include sewing, embroidery, appliqué, fabric painting, and using iron-on transfers. These techniques allow you to add personal touches and unique designs to your throw pillows.