Creating your own decorative mirrors can be a rewarding and fulfilling project that allows you to express your creativity while enhancing your living space. DIY decorative mirror crafts not only serve a functional purpose but also add a unique touch to your home decor. Whether you are looking to create a statement piece for your living room or a subtle accent for your bedroom, the possibilities are endless.
By engaging in this hands-on activity, you can transform ordinary mirrors into stunning works of art that reflect your personal style. As you embark on this creative journey, you will discover that making decorative mirrors is not just about the end product; it’s also about the process. The act of crafting can be therapeutic, providing a sense of accomplishment as you see your vision come to life.
You will find that DIY decorative mirrors can be tailored to fit any theme or color scheme, making them versatile additions to your home. So, gather your materials and prepare to unleash your inner artist as you dive into the world of DIY decorative mirror crafts.
Key Takeaways
- DIY decorative mirror crafts are a fun and creative way to add a personal touch to your home decor.
- Materials needed for DIY decorative mirror crafts include a plain mirror, various decorative items, glue, and paint.
- Step-by-step instructions for creating a DIY decorative mirror involve cleaning the mirror, arranging and attaching decorative items, and adding personal touches.
- Creative ideas for decorating and personalizing your DIY mirror include using seashells, beads, or mosaic tiles to create unique designs.
- Tips and tricks for making your DIY decorative mirror stand out include using different shapes and sizes of mirrors, and experimenting with different color schemes and textures.
Materials Needed for DIY Decorative Mirror Crafts
Before you begin crafting your decorative mirror, it’s essential to gather all the necessary materials. The good news is that many of the items you need may already be lying around your home, making this project both accessible and budget-friendly. At the core of your project, you will need a mirror.
This could be a simple wall mirror, a handheld mirror, or even a broken mirror that you can repurpose. The size and shape of the mirror will largely dictate the overall design, so choose one that resonates with your vision. In addition to the mirror itself, you will require various decorative elements to enhance its appearance.
This could include items such as paint, adhesive glue, beads, shells, or even fabric. If you’re feeling particularly adventurous, consider incorporating natural materials like twigs or stones for an organic touch. Tools such as scissors, brushes, and a hot glue gun will also come in handy during the crafting process.
By gathering these materials ahead of time, you’ll ensure a smooth and enjoyable crafting experience.
Step-by-Step Instructions for Creating a DIY Decorative Mirror
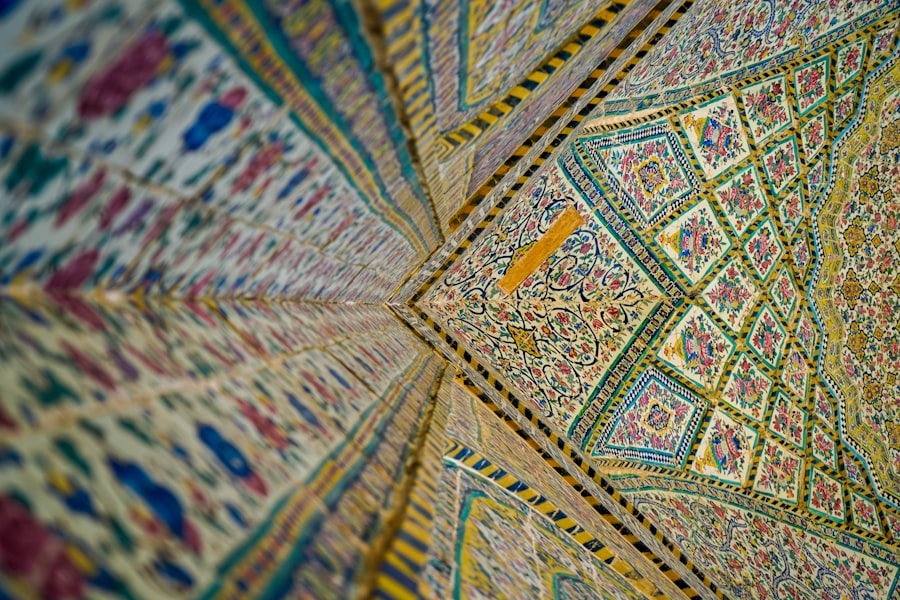
Once you have all your materials ready, it’s time to dive into the step-by-step process of creating your DIY decorative mirror. Start by preparing your workspace; make sure it’s clean and well-lit to facilitate your crafting. Lay down some newspaper or a drop cloth to protect surfaces from any potential mess.
Next, take your mirror and decide how you want to frame it or decorate around it. If you’re using paint, consider applying a base coat first to create a uniform background. After the base coat has dried, begin attaching your decorative elements.
If you’re using beads or shells, apply a small amount of glue to the back of each piece and press it firmly onto the mirror’s frame or surrounding area. Be creative with your arrangement; there are no strict rules here! You might want to create patterns or clusters for visual interest.
Once you’ve attached all your decorations, allow everything to dry completely before moving on to the next step.
Creative Ideas for Decorating and Personalizing Your DIY Mirror
When it comes to personalizing your DIY decorative mirror, the sky’s the limit! One idea is to use stencils or stickers to add meaningful quotes or designs directly onto the mirror’s surface. This can create an inspiring focal point in any room.
Alternatively, consider using fabric scraps to create a textured border around the mirror. Choose fabrics that complement your existing decor for a cohesive look. Another creative approach is to incorporate seasonal themes into your design.
For instance, you could use autumn leaves and acorns for a fall-inspired mirror or bright flowers for a springtime feel. You might also want to experiment with different painting techniques, such as sponging or splattering, to add depth and dimension to your mirror’s frame. By infusing your personality into the design, you’ll create a piece that truly reflects who you are.
Tips and Tricks for Making Your DIY Decorative Mirror Stand Out
To ensure that your DIY decorative mirror stands out in any space, consider incorporating contrasting colors and textures into your design. For example, if your room features soft pastels, opt for bold colors in your mirror’s decorations to create an eye-catching contrast. Additionally, think about layering different materials; combining glass beads with natural elements like wood can add visual intrigue and depth.
Lighting also plays a crucial role in how your mirror is perceived in a room. Positioning your decorative mirror near a light source can enhance its reflective qualities and draw attention to its unique features. If possible, experiment with different placements before settling on a final location.
Lastly, don’t shy away from adding unexpected elements like fairy lights or small LED strips around the frame for an enchanting touch that will make your mirror shine even brighter.
How to Incorporate DIY Decorative Mirrors into Your Home Decor

Enhancing Your Home Decor with DIY Mirrors
Incorporating your newly crafted DIY decorative mirrors into your home decor can elevate the overall aesthetic of any room. Consider placing them in areas where they can serve both functional and decorative purposes—such as above a console table in an entryway or as part of a gallery wall in your living room.
Strategic Placement for a Larger Space
Mirrors can also be used strategically to create the illusion of more space; placing them opposite windows can reflect natural light and make a room feel larger and more open. This clever trick can instantly transform a small room into a more spacious and airy environment.
Creating a Unique Focal Point
You might also want to think about grouping multiple mirrors together for an eclectic look. Mixing different shapes and sizes can create an interesting focal point that draws the eye. Alternatively, if you prefer a more minimalist approach, choose one standout piece and let it shine on its own against a neutral backdrop.
Adding Character and Charm
Regardless of how you choose to display your DIY decorative mirrors, they will undoubtedly add character and charm to your home.
Maintenance and Care for DIY Decorative Mirrors
Once you’ve created and incorporated your DIY decorative mirrors into your home decor, it’s essential to maintain their beauty over time. Regular cleaning is key; use a soft microfiber cloth and a gentle glass cleaner to wipe down the reflective surface without scratching it. Avoid using harsh chemicals or abrasive materials that could damage both the mirror and any decorative elements you’ve added.
Additionally, be mindful of where you’ve placed your mirrors in relation to sunlight and humidity. Excessive exposure to direct sunlight can cause fading in certain materials, while high humidity levels may lead to mold growth on fabric decorations. To keep your mirrors looking their best, consider rotating their placement occasionally or using protective coatings on more delicate materials.
Conclusion and Final Thoughts on DIY Decorative Mirror Crafts
In conclusion, creating DIY decorative mirrors is not only an enjoyable craft but also an opportunity for self-expression and creativity. By following simple steps and utilizing readily available materials, you can transform ordinary mirrors into stunning pieces that enhance your home decor. The process allows you to explore various design ideas while personalizing each piece to reflect your unique style.
As you embark on this crafting adventure, remember that there are no limits to what you can create. Whether you opt for bold colors or subtle textures, each mirror will tell its own story within your home. So gather your materials, unleash your creativity, and enjoy the satisfaction of crafting something beautiful that will brighten up any space for years to come.
FAQs
What are some popular DIY decorative mirror crafts?
Some popular DIY decorative mirror crafts include creating a mosaic mirror, adding a decorative frame to a plain mirror, and using paint or other materials to add designs or patterns to the mirror surface.
What materials are commonly used for DIY decorative mirror crafts?
Common materials used for DIY decorative mirror crafts include mirrors, decorative frames, mosaic tiles, paint, glue, and various embellishments such as beads, shells, or crystals.
Are DIY decorative mirror crafts difficult to make?
The difficulty level of DIY decorative mirror crafts can vary depending on the specific project and the individual’s crafting skills. Some projects may be relatively simple and straightforward, while others may require more advanced techniques and tools.
Where can I find inspiration and tutorials for DIY decorative mirror crafts?
Inspiration and tutorials for DIY decorative mirror crafts can be found online on websites, blogs, and social media platforms dedicated to crafting and home decor. Additionally, craft stores and magazines may also offer ideas and instructions for creating decorative mirror crafts.
What are some ways to use DIY decorative mirror crafts in home decor?
DIY decorative mirror crafts can be used in home decor in various ways, such as hanging them on walls as statement pieces, incorporating them into gallery walls, using them as functional mirrors in bathrooms or bedrooms, or even repurposing them as trays or tabletop decor.